
Marine gyrocompass maintenance and repair practice questions
Applicable: Electrical and Electronics Practical Training and Assessment | Crew Training Equipment Practical Reference
I. Brief description of contents
(i) Assessment missions
Maintenance and care of the rosary
(ii) Assessment of implementation
1. Assessment modalities
Evaluate using a real gyro rosette or simulator, with a combination of live hands-on exercises and live answers to questions. Select a certain type of rosette to turn on normally and stabilize (one of the down-weighted, liquid-connected, or electromagnetic types).
2. Description of the mission (scenario)
Operation and maintenance of the electric compass.
3. Assessment procedures
(1) the basic operation of the electric compass: tell the correct power-on steps; (2) the connection of the compass signal and other equipment; (3) compass error elimination methods; (4) common fault judgment.
4. Assessment requirements
(1) Tell the steps to start up the machine; (2) Tell the matters of maintenance; (3) Judgment of common faults (choose a certain fault answer).
5. Cluster approach
Complete the operation individually. 6. Assessment time
Not more than 15min.
(iii) Elements of assessment and assessment criteria
1. Element 1 and its evaluation criteria
(1) Assessment elements - the basic operation of the rosette: ① tell the correct opening steps; ② tell the basic composition of the rosette and the role of each part.
(2) Evaluation Criteria: ① Describe the opening steps for different types of rosettes; ② Describe the division of the rosette structure and the role of each part.
2. Element 2 and its evaluation criteria
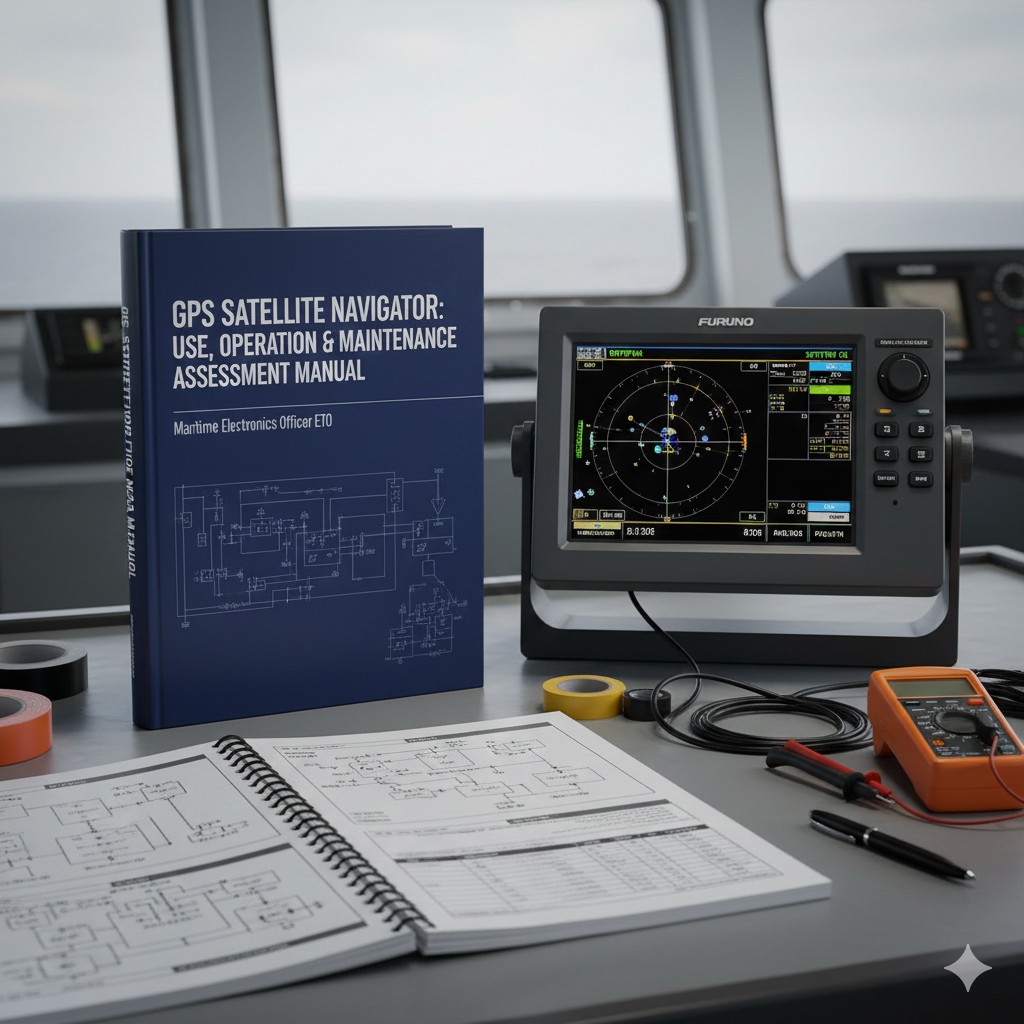
(1) Evaluation elements - connection of the compass signal to other equipment: (i) checking and reading of the compass output signal; (ii) operation of the compass output signal connected to equipment such as radar, AIS, VDR or ECDIS.
(2) Evaluation criteria: (i) Detection of the rosette output signal using a multimeter or software; (ii) Operation of the rosette output signal connected to equipment such as radar, AIS, VDR, or ECDIS as specified by the evaluator.
3. Element 3 and its evaluation criteria
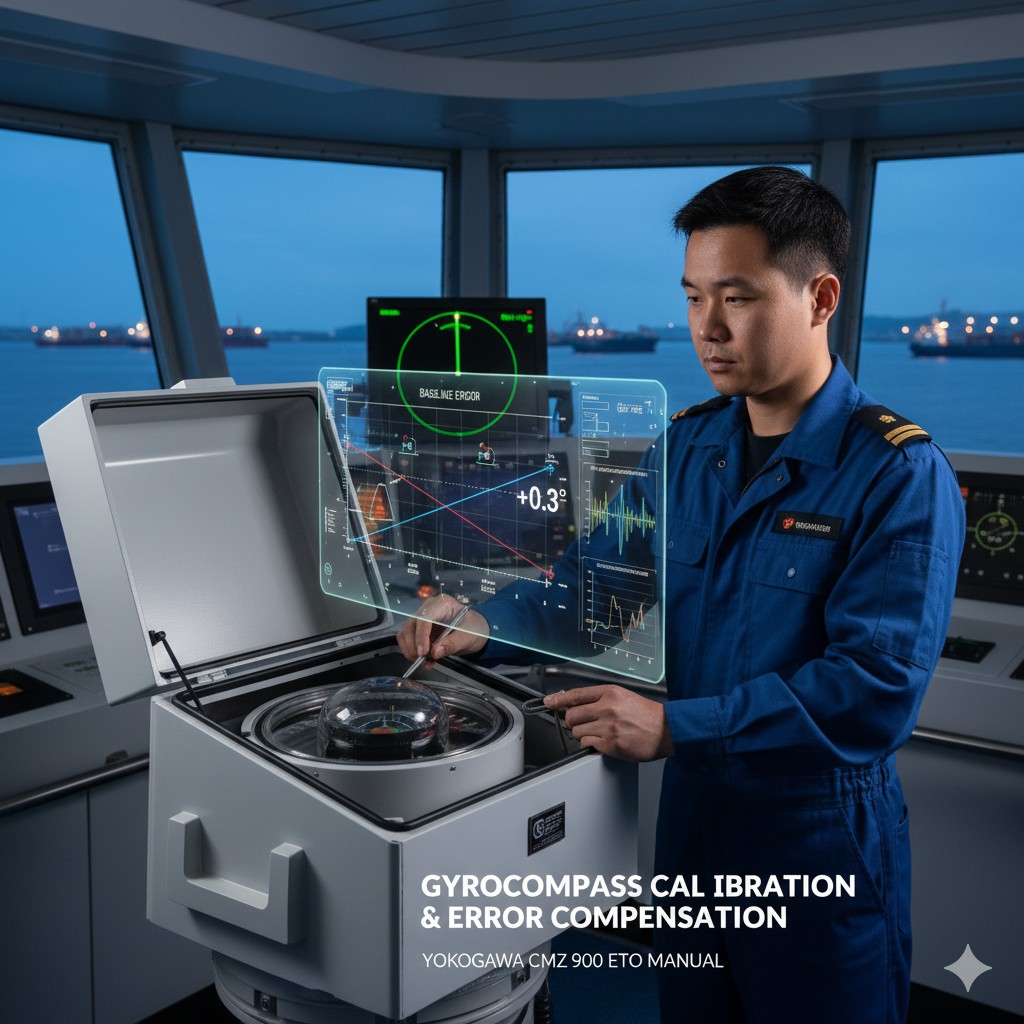
(1) Evaluation elements - compass error elimination methods: ① latitude error elimination; ② velocity error elimination; ③ impact error elimination; ④ baseline error elimination.
(2) Evaluation criteria: ① be able to describe the definition of various types of errors and the causes of errors; ② be able to operate the Rojing equipment to complete the elimination of errors.
4. Element 4 and its evaluation criteria
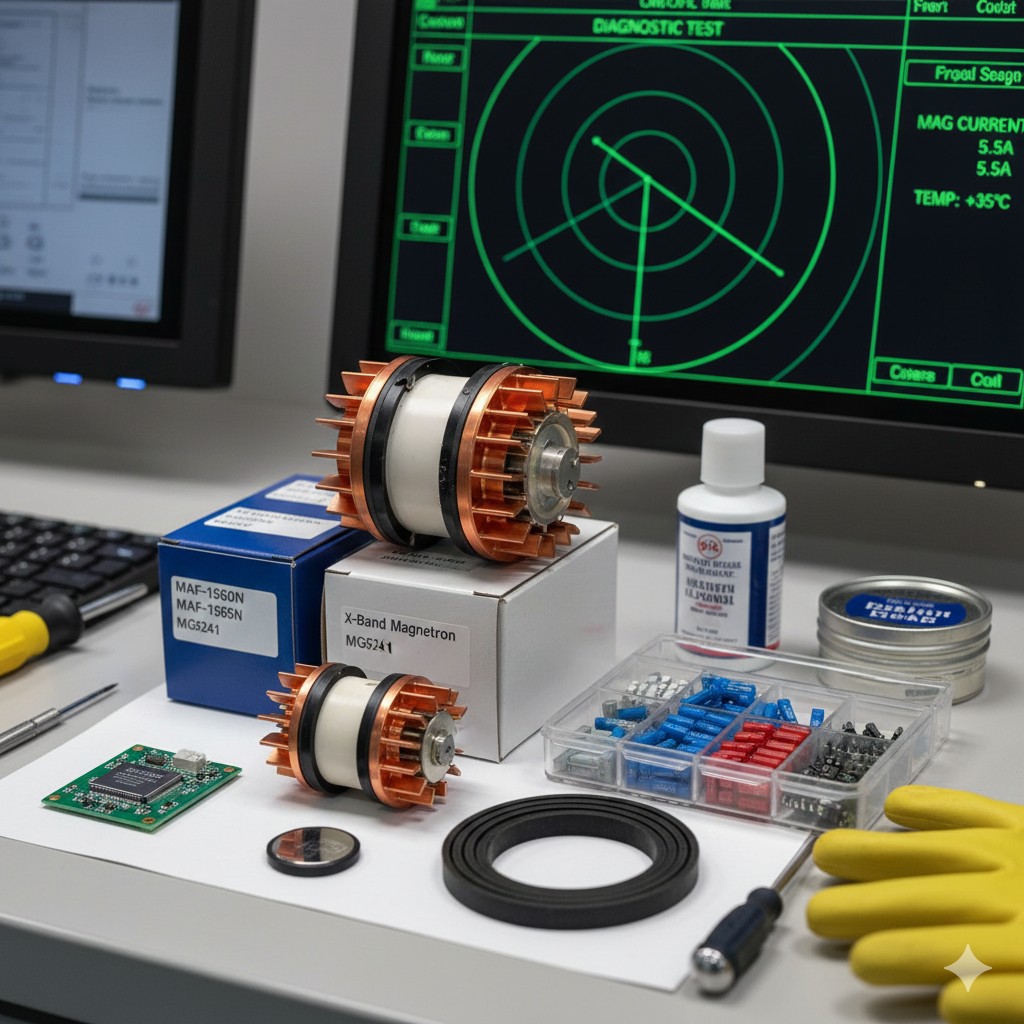
(1) Evaluation elements - compass common fault judgment: ① main compass power indicator lamp does not light; ② main compass sailing dial rapid rotation; ③ main compass and synchronization sending box sailing scale is not consistent; ④ compass can not be stabilized for a long time.
(2) Evaluation criteria: Be able to determine and describe the cause of each fault phenomenon and simple treatment methods.
II. Methods of operation
There are four assessment elements for this assessment task, which are operationalized as follows:
:: (i) Basic operation of the rosary (this element is marked with a “●” to indicate that it is a “key element”)
1. Explanation of the correct power-up procedure
(1) Steps for starting up the Anschutz series rosette:
① Turn on the boat power switch;
② Turn on the power of the transformer box and observe the change of the brightness of the three-phase current indicator (initially bright, gradually dimming after 20 min);
③20 min after the closure of the main Luo via the follower switch, monitoring the support liquid temperature to 52 ± 3 ℃ (temperature control system automatically adjusted);
④After 4 h of stabilization, the gyro ball height fluctuation ≤±2 mm, complete the true north alignment.
(2) Steps for opening the Sibley series rosette:
Initialization check: The main compass locking handle is placed in the “CAGED” position, and the electronic controller and the power switch of the sub-compass are in the “OFF” state;
② Turn on the power switch of the electronic controller and the red indicator light will be on;
③ Set the mode switch to “SLEW” and adjust the main compass heading to true heading ±15° by using the CW/CCW knob;
④Switch to “START” and wait for 10 minutes for the rotor to reach the rated speed of 12000 r/min;
⑤ Turn to the “AUTOLEVEL” position, and the system completes the horizontal reference correction after 30s;
⑥Finally switch to the “RUN” position to synchronize the compass heading and set the latitude/speed compensation parameters.
(3) Steps for opening the AmaBrown series rosette:
① Ship's electric power supply, turn on the converter switch on the switch junction box;
② After checking that all subrode directions are equal to the main rode direction, turn on the subrode switch on the switch junction box;
③ Turn on the power switch on the main compass panel;
④Indicate the speed knob to “Sailing Speed” with a difference of not more than 5kn;
⑤ Indicate the Latitude knob to be within 5° of the corresponding position of the ship's latitude;
⑥ Press the Azimuth button by hand and turn the Slew Rate knob to rotate the main compass dial, the clockwise heading dial reading increases until the heading approximates the true heading, before releasing the button, the knob returns to the center position;
⑦ Press the Tilt (Tilt) button by hand, turn the rotation rate (Slew Rate) knob so that the horizontal bubble on the reservoir tank is in the center position, and return the knob to the center position before releasing the button.
2. To describe the basic components of the rosary and the role of each part
The rosary is structurally divided into three parts:sensitive part(control part and damping part of the composition), the role is to point to the north;sliding scaleIsolate the sensitive part from the outside world while reflecting the gyroscope spindle pointing on the dial;fixed partThe part of the main compass that is fixed to the ship and rotates with the ship, while the sensitive and following parts keep pointing north.
:: (ii) Connection of the rosette signal to other equipment (this element is preceded by a “●” to indicate that it is a “key element”)
1. Checking and reading of the warp output signals
The C-operating unit and M-operating unit panels of the CMZ 900 series compasses enable the display of signals in the compass display area to be indicated in the display interface and software.
(1) C The panel display of the operation unit, the bow display area shows the current Roosevelt bow sounding data and the system status, and the data display area shows the input method and the input vessel speed and vessel position information.
(2) M The display on the panel of the operation unit shows that the data in the column of GYRO HEADING is the current bow output data of the compass.
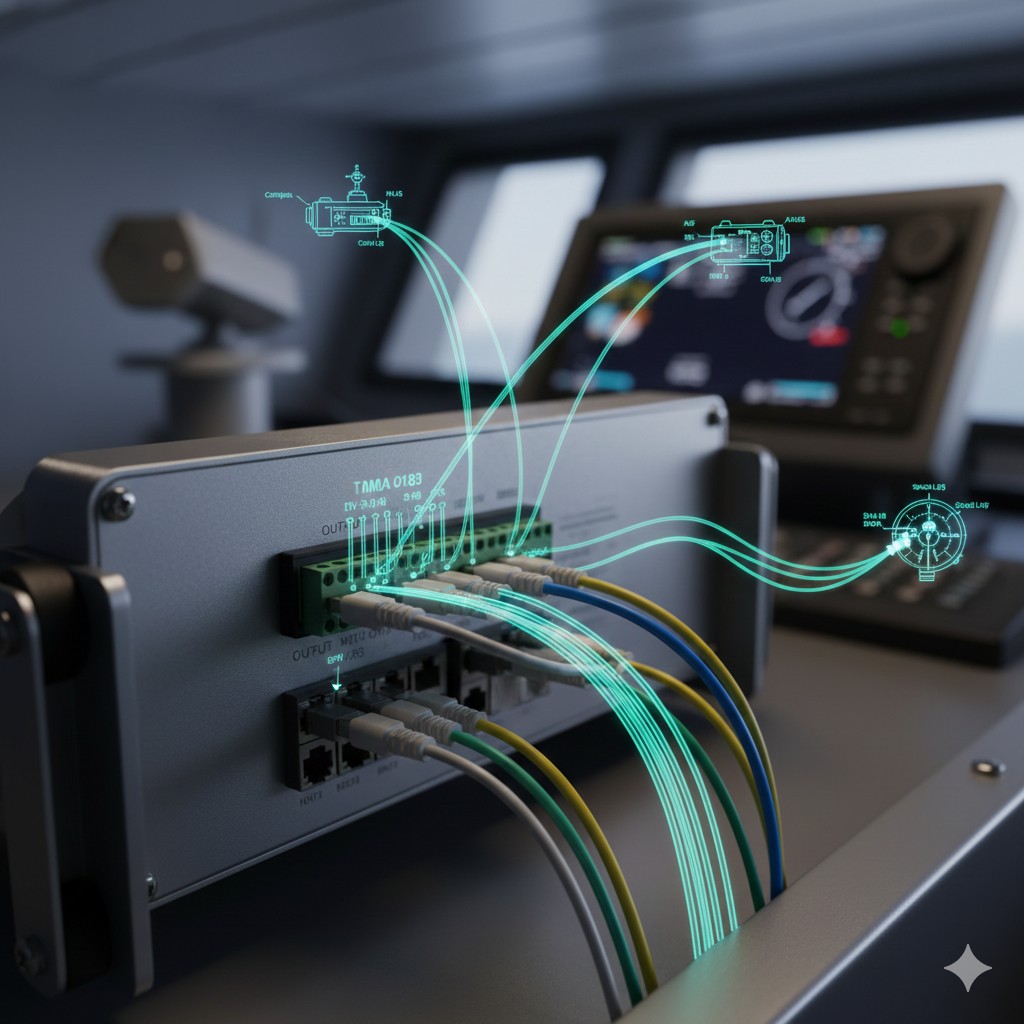
2. the operation of the rosette output signal connection to equipment such as radar, AIS, VDR or ECDIS
(1) First, change the communication protocol of the serial output port of the main compass. In the “Command” mode, find the code “42” in the “General Menu”. In the "Command" mode, find the code "42" in the "General Menu" menu, and adjust the baud rate setting of the output port.
(2) After the port setting is completed, you can connect the signal cable to the related equipment, such as radar, AIS, VDR or ECDIS, etc. to the input port of the bow signal.
:: (iii) Method of eliminating compass errors (this element is marked with a “◎” to indicate that it is a “key element”)
1. Latitude error elimination:
(1) Select “SPD SET” in the “Operation MENU” and press the “ENT” key to switch to displaying the speed error correction latitude input.
(2) Press the “ENT” key to enter the automatic or manual input selection, at this time, “AUTO” and “MANUAL” flashing at the same time, use the up and down keys to select and then press the “ENT” key. Press the "ENT" key to enter the automatic or manual input selection.
(3) Once the mode has been selected, the up and down keys can be used to change the input latitude value.
(5) After inputting the latitude and pressing the “ENT” key, the input value will blink, indicating that the information needs to be changed. If the “ENT” key is pressed again, the blinking will be stopped and the input number will be changed, and the correction of the latitude error will be completed.
2. Velocity error elimination:
(1) Select “SPD SET” in the “Operation MENU” and press the “ENT” key to switch to the display of speed error correction speed input.
(2) Press the “ENT” key to enter the automatic or manual input selection, at this time, “AUTO” and “MANUAL” flashing at the same time, use the up and down keys to select and then press the “ENT” key. Press the "ENT" key to enter the automatic or manual input selection.
(3) Once the mode has been selected, the input speed value can be changed using the up and down keys.
(5) Press the “ENT” key after inputting the speed, the inputted value will blink, indicating the information to be changed. If the “ENT” key is pressed again, the blinking will stop and the inputted number will be changed, and the correction of the speed error will be completed.
3. Shock error elimination:
Shock Error Elimination: Generated when the ship is doing maneuvering, no treatment when the ship latitude is lower than the design latitude, and the ship latitude is higher than the design latitude when the damper is closed to eliminate the error.
4. Baseline error elimination:
The baseline of the compass is installed parallel to the bow and stern lines.
◎ (4) Luo Jing common fault judgment
| fault phenomenon | Causes and simple ways to deal with them |
|---|---|
| 1. The main compass power indicator does not light up. | Malfunction of the IF power supply box, check the power supply. |
| 2. Rapid rotation of the main compass navigational scale | Failure of the follower system, check the input and output signals of the follower amplifier. |
| 3. Inconsistency between main compass and synchronized transmitter box sailing scale | Synchronization system malfunction, replace synchronization amplifier. |
| 4. Lack of stabilization of menstruation for a prolonged period of time | Gyrosphere failure (check that the current is within the normal values given in the manufacturer's manual or check the roto-mechanical drive mechanism). |


